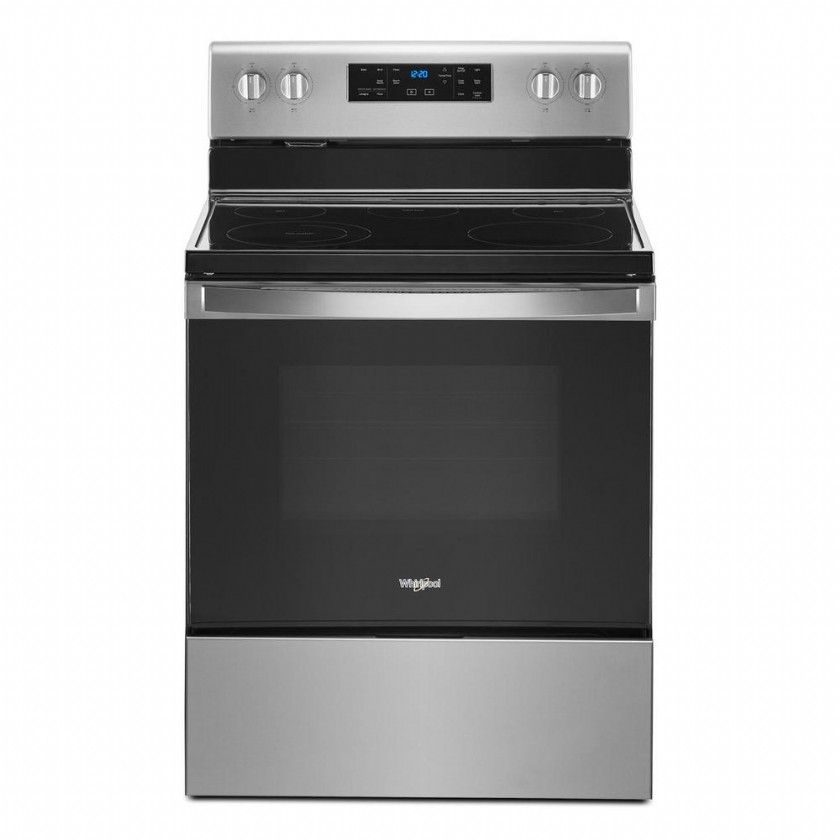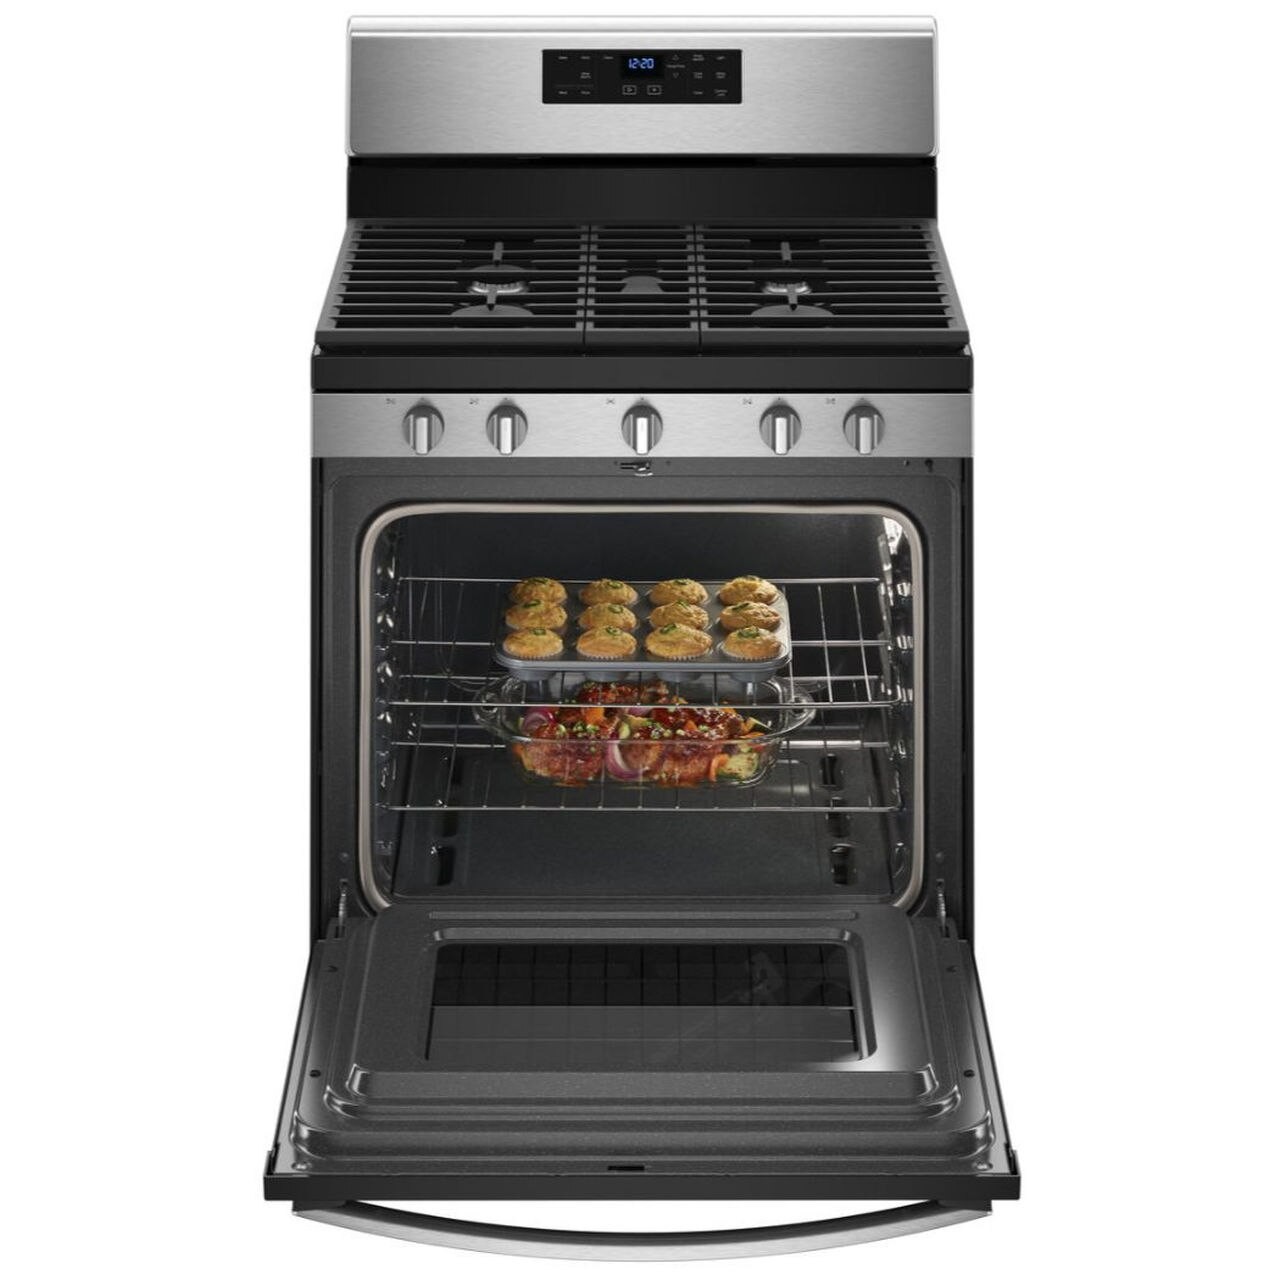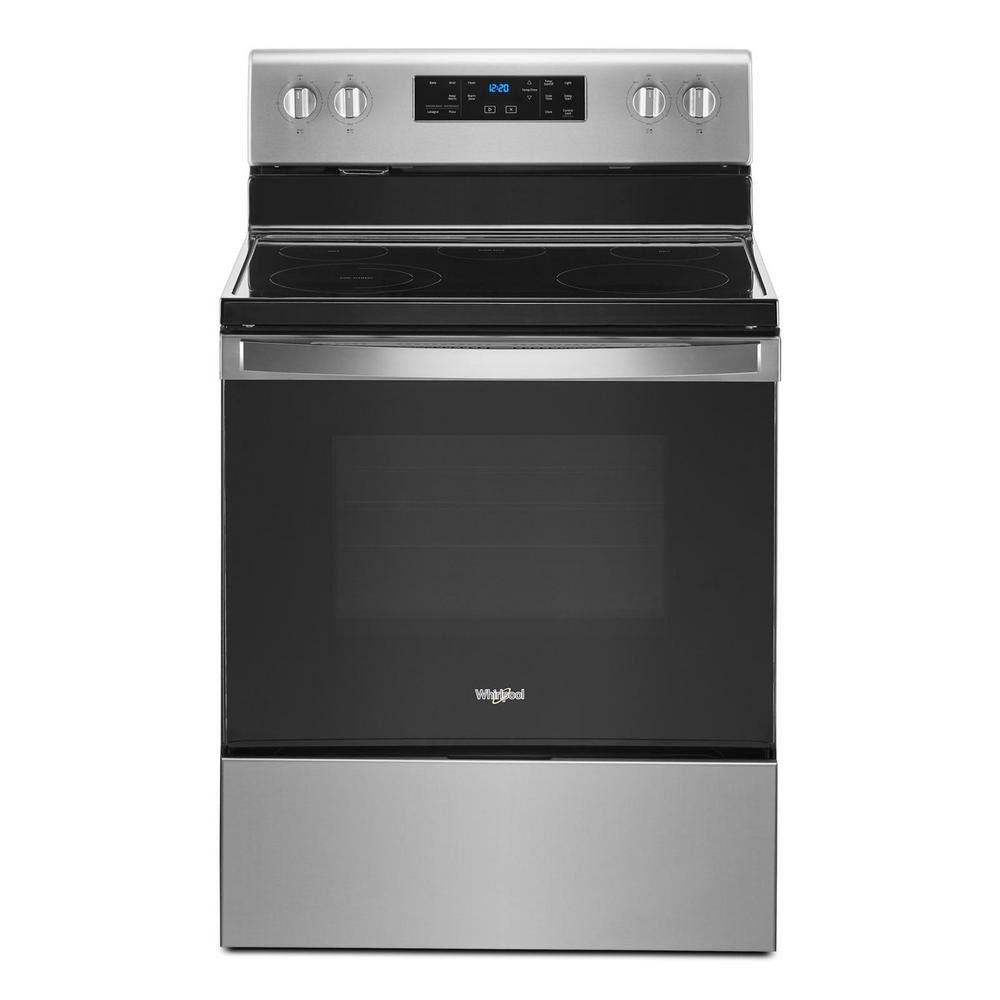
Exterior

Wash the exterior surfaces and gaskets with warm water and mild soap or detergent. Wipe and dry.We recommend using a clean microfiber cloth or a soft clean cloth to polish and dry.Ensure to thoroughly dry all surfaces.
IMPORTANT:To avoid damage tothe finish,do not use soap-filled scouring pads, abrasive or harsh cleaners,any cleaning product containing chlorine bleach, steel-wool pads, gritty washcloths or paper towels. Using these types of products may scratch and/or dull the clear coat of the black stainless surface.
DO USE
Soft, clean cloth
Warm, soapy water - use a mild detergent
DO NOT USE
Abrasive cloths
Paper towels or newsprint
Steel-wool pads
Abrasive powders or liquids
Window sprays
Ammonia
Acidic or vinegar-based cleaners
Oven cleaners
Flammable fluids
Wash the exterior surfaceswith warm water and mild soap or detergent. Wipe and dry.We recommend using a clean microfiber cloth or a soft clean cloth to polish and dry.Ensure to thoroughly dry all surfaces.
IMPORTANT:To avoid damage tothe finish,do not use soap-filled scouring pads, abrasive or harsh cleaners,any cleaning product containing chlorine bleach, steel-wool pads, gritty washcloths or paper towels. Using these types of products may scratch and/or dull the clear coat of the coated surfaces.
IMPORTANT:Before cleaning, make sure all controls are off and the oven and cooktop are cool. Always follow label instructions on cleaning products.
Wash the exterior surfaces and gaskets with warm water and mild soap or detergent. Wipe and dry.We recommend using a clean microfiber cloth or a soft clean cloth to polish and dry.Ensure that all surfaces are thoroughly dry.
IMPORTANT:To avoid damage tothe finish,do not use soap-filled scouring pads, abrasive or harsh cleaners,any cleaning product containing chlorine bleach, steel-wool pads, gritty washcloths or paper towels. Using these types of products may scratch and/or dull the clear coat of the door.
IMPORTANT:
affresh®cleaners are available at many retailers.
affresh®cleaners are available at many retailers.
IMPORTANT: Before cleaning, make sure all controls are off, and the cooktop is cool. Always follow label instructions on cleaning products.
Food spills containing acids, such as vinegar and tomato, should be cleaned as soon as the entire appliance is cool. These spills may affect the finish.
NOTE: Coil elements are self-cleaning; do not immerse them in water.
or
or
Oven cleaner by followingproduct label instructions.
This part can be ordered at ourPurchase Genuine Partssite.
Porcelain Drip Bowls are dishwasher safe.
or
IMPORTANT:Before cleaning, make sure all controls are off and the oven is cool. Always remove oven racks before cleaning and prior to Self-Cleaning. Always follow label instructions on cleaning products.
IMPORTANT: Before cleaning, make sure all controls are off, and the cooktop is cool. Always follow label instructions on cleaning products.
When replacing knobs, make sure knobs are in the Off position. On some models, do not remove seals under knobs.
IMPORTANT:To avoid damage to the finish, do not use soap-filled scouring pads, abrasive cleaners, steelwool pads, gritty washcloths, or abrasive paper towels.
Preferred Method:Soap, water, and a soft cloth or sponge are suggested first unless otherwise noted.
Other Methods:Glass cleaner, mild liquid detergent, all-purpose cleaner, or nonabrasive scrubbing pad.Rinse with clean water and dry with a soft, lint-free cloth.
Tap, spring and even filtered water has dissolved minerals in it that will remain in your oven after the water evaporates.These minerals may leave a ring that is likely deposits of Calcium, Phosphates, Nitrates, Sodium, Potassium, and Chloride. A reddish hint in this area is typically rust in the water supply.
Most of the time this ring can be removed by wetting the surface and using a non-scratch sponge.If the problem persists; a 50/50 mix of vinegar and water will remove it.
IMPORTANT:Make sure you completely wash the surface with pure or distilled water after you clean the vinegar/water mixture up to prevent damage to the oven coating.
Run the cleaning cycle first as instructed. Then use a nonabrasive scrub sponge or eraser style cleaning pad (without cleaners). These can be effective for cleaning the oven cavity walls, oven door and oven bottom for difficult soils.
For best results, moisten the pads and sponges before use and wipe up the area immediately after the cycle is completed.affresh™ cooktop cleaner may also be used to clean the oven bottom, walls, and door when the oven has finished the cycle and returned to room temperature.
The most effective method to remove difficult soils that are not clean after the cycle is to run another cycle.This second cycle may be necessary if the soil is excessively thick or has a large surface area.The first cycle will make the soil thinner and the surface area smaller.The second cycle will be more effective to lift the soil since it is now a smaller soil.
Running the cycle regularly will reduce the need to run the cycle more than onceat atime.
Use of a non-scratch sponge or plastic scraper is suggested as well, which is included in the AquaLift Cleaning Kit.
KIT W10474646 contains the following:
NOTE:This is the same cleaning kit that ships with the product, with the addition of the cooktop cleaner.
For stubborn soils, affresh™cooktop cleaner can be used after the cycle is completed and oven has cooled.
IMPORTANT:If affresh™ cooktop cleaner is used, wiping out the cavity with distilled water is recommended as well.Non-abrasive scrub sponges or eraser style cleaning pads (without cleaners) can also be used and are effective for cleaning the oven cavity walls, oven door and oven bottom after the cleaning cycle.
NOTE: Allow the oven to cool to room temperature before using the Clean cycle. If your oven cavity is above 200°F (93°C), “Oven Cooling” will appear in the display, and the Clean cycle will not be activated until the oven cavity cools down.
IMPORTANT: Do not use chemicals or other additives with the water. Do not open the oven door during the Clean cycle. The water on the oven bottom is hot.
IMPORTANT: Do not use oven cleaners. The use of chemicals, including commercial oven cleaners or metal scouring pads, may cause permanent damage to the porcelain surface of the oven interior.
Run an additional Clean cycle for stubborn soils.
affresh® Cooktop Cleaner may be used to clean the oven bottom, walls, and door when the oven has finished the cycle and returned to room temperature. If the affresh® Cooktop Cleaner is used, it is recommended to wipe out the cavity with distilled water as well.
Cooktop Cleaning

IMPORTANT:
Step 1:Remove food/residue with a scraper designed for ceramic glass cooktops.
Step 2:Apply a few dime-sized drops of affresh® cooktop cleaner / ceramic glass cooktop cleaner to the affected areas.
Step 3:Polish with a clean, dry cloth or a clean, dry paper towel.
IMPORTANT: Before cleaning, make sure all controls are off, and the cooktop is cool. Always follow label instructions on cleaning products.
Food spills containing acids, such as vinegar and tomato, should be cleaned as soon as the entire appliance is cool. These spills may affect the finish.
IMPORTANT:To avoid damage to porcelain surfaces, do not use soap-filled scouring pads, abrasive cleaners, steelwool pads, gritty washcloths, or abrasive paper towels.
Preferred Method:Soap, water, and a soft cloth or sponge are suggested first unless otherwise noted.
Other Methods:Glass cleaner, mild liquid detergent, all-purpose cleaner, or nonabrasive scrubbing pad.Rinse with clean water and dry with a soft, lint-free cloth.
Odors or Smells Cleaning
IMPORTANT:The health of some birds is extremely sensitiveto the fumes given off by the oven. Exposure to the fumes mayresult in death to certain birds. Always move birds to anotherclosed and well-ventilated room.
IMPORTANT: The health of some birds is extremely sensitive to the fumes given off during the Self-Cleaning cycle. Exposure to the fumes may result in death to certain birds. Always move birds to another closed and well-ventilated room.
Do not clean, rub, damage or move the oven door gasket. The door gasket is essential for a good seal.
IMPORTANT:To avoid permanent damage to the oven bottomfinish, do not line the oven bottom with any type of foil or liner.
Covering the oven bottom can trap spills and debris resulting inodors.
For best cooking results, do not cover the entire oven rack with foilbecause air must be able to move freely and the foil can trap debris causing odors.
Oven Cleaning
The finish of the continuous cleaning oven contains a special catalyst and is identified by its dark gray color, white stipple and rough, porous texture.The rough texture absorbs spatters and allows them to spread, thus exposing a larger area to the hot oven air.The catalyst, when exposed to heat, speeds the oxidation of soil.
Cleaning action automatically begins whenever the oven is turned on for baking or roasting.The oven MUST be on for cleaningto take place - no cleaningwill occur when the oven is off.The special catalyst finish must be exposed to hot oven air before soil will begin to gradually reduce in size.
The higher the oven temperature, the faster the cleaning action.The length of the cleaning time will depend on these factors:type of soil, amount or size of soil, oven temperature and length of time oven is in use.Soil deposited at the end of a cycle may still be visible.This will usually fade with continued oven use until the soil gradually disappears or can be wiped up manually.The oven will appear presentably clean, even though some spatters may be present.
The special finish will clean most spatters during normal oven use unless there is a heavy buildup of soil.Heavy spillovers such as pie or casserole boilovers will not clean effectivelywithout some manual help.The crusty or varnish like stains that form from these spillovers clog the pores and prevent the special finish from being exposed to the hot oven air.This greatly reduces the cleaning effectiveness of the finish.
These crusty or varnish like stains must either be removed or broken up before cleaning can effectively take place.
Brush off heavy soil with a nylon brush or plastic pad.Do not use paper towels, cloths or sponges for the oven walls are porous and particles of these materials will rub off on the walls.Rinse the area with clear water only.
Brittle crusts or stains can be loosened by gently tapping stain with a wooden or plastic utensil.Brush away any loose soil that flakes off.Varnish type stains usually need to be softened with a small amount of water or damp cloth.Remaining soil will gradually reduce with continued oven use at normal baking temperatures.
Do not use any type of oven cleaner, powdered cleansers, soap, or paste on any continuous cleaning surface.Also do not use any abrasive materials, steel wool, sharp instruments or scrapers for they will damage the finish.
Place a piece of heavy-duty aluminum foil or shallow pan, slightly larger than the cooking container, on the lower rack to catch spill-overs.
IMPORTANT: The health of some birds is extremely sensitive to the fumes given off during the Self-Cleaning cycle. Exposure to the fumes may result in death to certain birds. Always move birds to another closed and well-ventilated room.
Food spills should be cleanedwhen oven cools.
At hightemperatures, foods react with porcelain and staining, etching,pitting or faint white spots can result.
Venting System Cleaning
IMPORTANT: Before cleaning, make sure all controls are off, and the cooktop is cool. Always follow label instructions on cleaning products.
Food spills containing acids, such as vinegar and tomato, should be cleaned as soon as the entire appliance is cool. These spills may affect the finish.
Liftoff the Vent Grill/Grate.
If you would like to download or view product literature for your appliance, please visit ourManuals and Literaturepage.
IMPORTANT: Before cleaning, make sure all controls are off, and the cooktop is cool. Always follow label instructions on cleaning products.
IMPORTANT: Before cleaning, make sure all controls are off, and the cooktop is cool. Always follow label instructions on cleaning products.
The ventilation chamber, which houses the filter, should be cleaned in the event of spills or when it becomes coated with a film of grease.
 51 times.
Ask me about:
Wash the exterior surfaces and gaskets with warm water and mild soap or detergent. Wipe and dry.We recommend using a clean microfiber cloth or a soft clean cloth to polish and dry.Ensure to thoroughly dry all surfaces.
IMPORTANT:To avoid damage tothe finish,do not use soap-filled scouring pads, abrasive or harsh cleaners,any cleaning product containing chlorine bleach, steel-wool pads, gritty washcloths or paper towels. Using these types of products may scratch and/or dull the clear coat of the black stainless surface.
DO USE
Soft, clean cloth
Warm, soapy water - use a mild detergent
DO NOT USE
Abrasive cloths
Paper towels or newsprint
Steel-wool pads
Abrasive powders or liquids
Window sprays
Ammonia
Acidic or vinegar-based cleaners
Oven cleaners
Flammable fluids

Askme / 4/12/2020 6:14:56 AM (Original: 1280X1280 px)

Askme / 4/12/2020 6:15:35 AM (Original: 1000X1000 px)
Learn how to reset your top load Samsung washer to troubleshoot error codes and cycle problems. Follow these steps to solve issues and get your washer back up and running smoothly.
/ Top load Samsung washer reset Answers: 1 1376
1376
Keep your refrigerator running efficiently and lasting longer with these easy maintenance tips. Regular cleaning, temperature checks, and condenser coil care are key.
/ Refrigerator maintenance tips Answers: 0 833
833
Learn how to reset your Whirlpool washer by following the troubleshooting steps outlined in the user manual to fix common issues quickly and easily.
/ Whirlpool washer user manual reset instructions Answers: 0 498
498
Learn how to locate and troubleshoot the thermal fuse in your GE dishwasher for potential heating issues with our step-by-step guide.
/ Finding thermal fuse in GE dishwasher Answers: 0 295
295
Discover the recommended steps for resetting the defrost timer on a refrigeration unit to maximize performance and efficiency. Keep your unit working smoothly!
/ Defrost timer reset procedure Answers: 0 391
391
Discover how refrigerators use a timer control system to regulate the defrost cycle, preventing ice buildup and ensuring efficient cooling for optimal performance.
/ Timer control for refrigerator defrost Answers: 0 312
312
Troubleshoot and fix the H2O error code on your GE dishwasher with our helpful tips to ensure it runs smoothly again. Follow our step-by-step guide now!
/ Repairing H2O error code on GE dishwasher Answers: 0 347
347
Troubleshoot and fix the H2O error code on your GE dishwasher with our helpful tips to ensure it runs smoothly again. Follow our step-by-step guide now!
/ Repairing H2O error code on GE dishwasher Answers: 0 426
426
Learn how to safely bypass the thermal fuse on your GE dishwasher to troubleshoot electrical issues without causing any damage or risk of injury.
/ GE dishwasher thermal fuse bypass Answers: 0 487
487
Learn how to reset your Samsung washing machine to fix operational problems and restore it to its original factory settings easily.
/ Resetting Samsung washing machine Answers: 0 312
312
Discover the most common error codes on Asko washing machines and learn how to resolve them with our troubleshooting guide. Keep your appliance running smoothly!
/ Asko washing machine problem codes Answers: 0 170
170
Learn how to prevent Dyson vacuum battery overcharging and extend its lifespan with simple tips and tricks. Keep your vacuum running efficiently for longer!
/ Dyson battery overcharging Answers: 0 155
155
Learn how to reset the settings on your Frigidaire dishwasher to troubleshoot common issues and get it working properly again.
/ Resetting Frigidaire dishwasher settings Answers: 0 163
163
Learn how to locate and test the thermal fuse in a GE dishwasher for continuity. Find out where it's located and how to ensure it's functioning properly.
/ Finding thermal fuse in GE dishwasher Answers: 0 160
160
Discover the recommended charging guidelines for Dyson vacuums to maximize performance and battery lifespan. Follow these tips for peak cleaning efficiency.
/ Dyson vacuum charging guidelines Answers: 0 156
156
tepte.com: Your Questions and Answers Resource with a Wealth of General Knowledge
Are you seeking a one-stop destination for comprehensive knowledge and answers to your burning questions? Look no further than tepte.com! Our platform is your go-to source for a wide range of information, all conveniently presented in an easily accessible question and answer format.
At tepte.com, we pride ourselves on being your reliable knowledge hub. Whether you're curious about technology, science, history, or any other subject under the sun, our extensive General Knowledge (GK) knowledge base has you covered. We've made it our mission to provide you with in-depth insights and facts on an array of topics. Read more