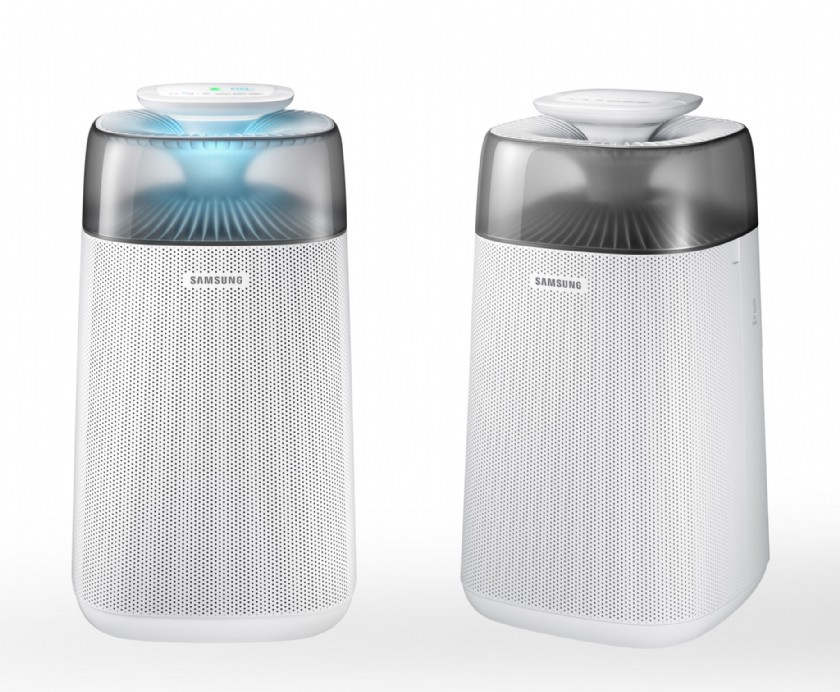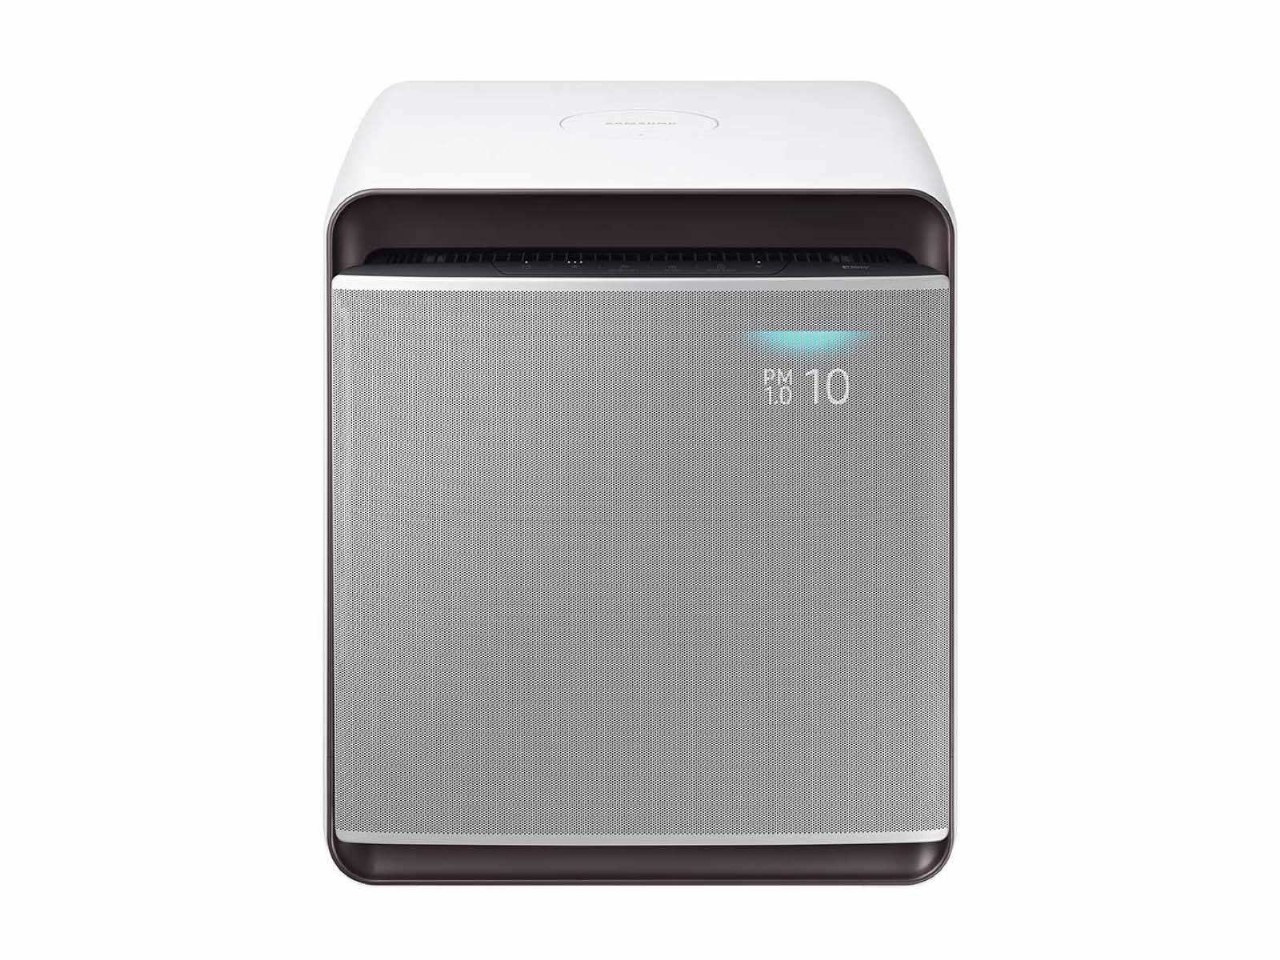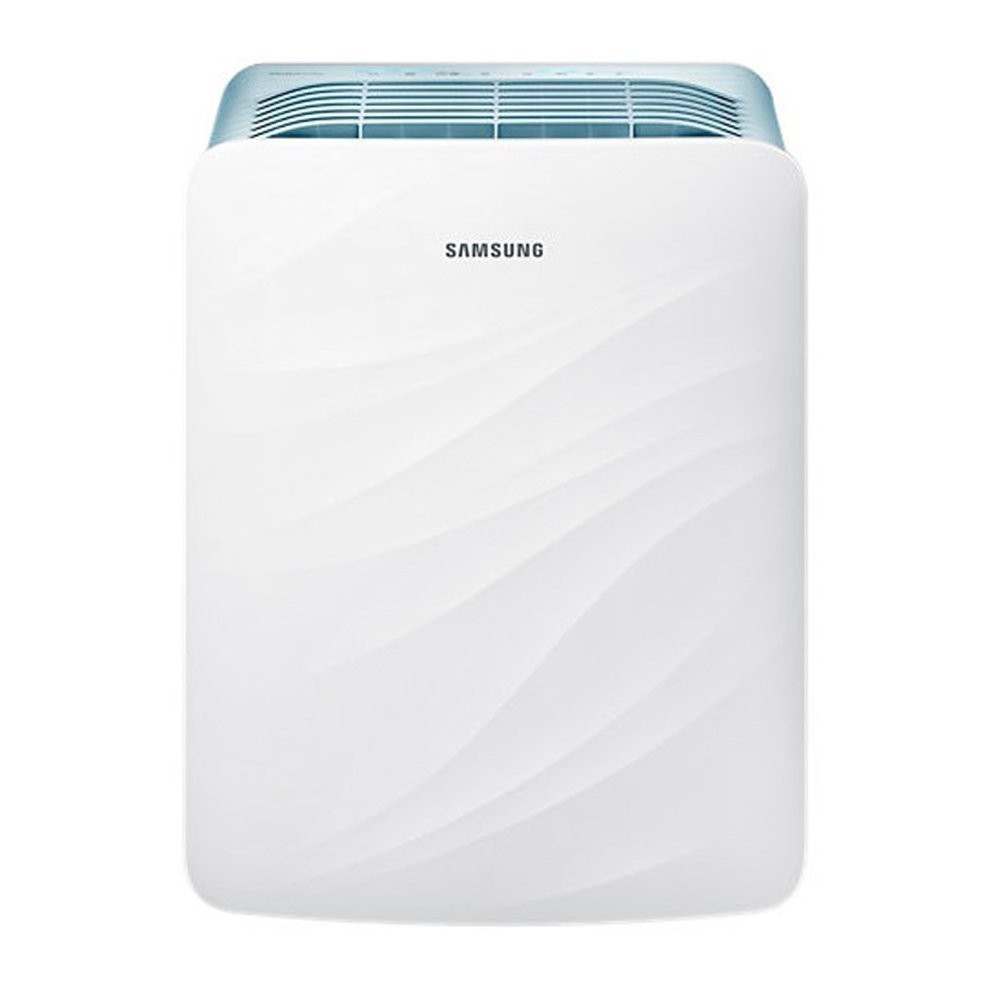
If you hear a chime sound when you connect the power cord, it means that the power is normally connected.

Turning the power on/off
• Press the Power button. The air purifier turns on with a notification sound and automatically begins operation.
–– Sensor preparation begins upon startup with a display indication and continues for 12 seconds. The air quality is then indicated by color and the concentration level.
–– Cleanliness color indicator: PM10, PM2.5, PM1.0, GAS Concentration display: PM10, PM2.5, PM1.0
• The product operates with the front panel being open about 30 mm. However, when you turn on the power for only the first time after connecting the power cord, the front panel is opened about 40 mm. Then the front panel is closed by about 10 mm and the product starts to operate.
• When you turn off the power and turn it back on, the product operates at the last fan speed you used.
Controlling the fan speed
Use the button to select the intensity of air flow to purify the indoor air.
• Press the [ ] button to select the fan speed you want.
–– Each time you press the button, the fan speed changes in the order of Low → Medium → High → Auto → Low.
• In Auto mode, the fan speed is automatically adjusted to the particle and gas pollution levels around it to keep the room clean.
–– When the product operates in the Auto mode for a certain period of time and the indoor air becomes clean, the front panel comes back into the product’s body and the operation mode is switched to the “Auto + Energy saving” mode.
–– The Energy saving mode is automatically released when the indoor air becomes bad , or you can cancel it by selecting a fan speed manually.
Wind-Free mode
Use the Wind-Free mode to purify the air with a gentle wind. When you start the Wind-Free mode, the front panel comes back into the product’s body.
• If you cancel the Wind-Free mode while it is running, the product operates in the previous mode.
Sleep mode
Sleep mode provides a clean, quiet and comfortable room for a good night's sleep.
• In the Sleep mode, the front panel is closed, the front display is turned off, and only the power indicator lights up.
• Changing the fan speed when Sleep mode has been active for 10 seconds or more will cancel the mode and the sensor loading display will appear.
• When combined, the top product will operate both units together. The bottom unit can only be turned on or off, but operational control is ceded to the top unit.
–– In combined air purifiers, you can operate them using only the top product. The bottom product operates in the same way as the top product However, when the top product is operating, you can turn just the bottom product on or off.
–– The display lights up only on the top product, and only the power status is visible on the bottom product.
–– You can rotate the air outlet of the product at the top in 360 degrees.
• When combining and decombining products, be sure to turn off their powers and use their handles.
• Some functions may not be supported if this product is combined with a model released previously.

STEP 1 Open the module connector on the bottom product.
• Push and rotate the module connector on the product that will be located at the bottom.
STEP 2 Disconnect the power from the top product.
• Disconnect the power adapter from the product that will be located at the top.
–– In combined products, the power is supplied through the bottom product. Keep the disconnected power adapter in a separate place.
STEP 3 Combine the top and bottom products.
• Align the product that will be located at the top with the module connector on the top of the product that will be located at the bottom, and assemble both products.
STEP 1 Remove the top product.
• Hold the bottom handles of the top product and remove it.
Caution
• Be sure to check whether the bottom product is installed stably.
• When moving the top product, hold its handles and be careful not to drop it.
STEP 2 Connecting the power to the decombined product.
• Connect the power adapter to the decombined top product.
STEP 3 Close the module connector on the bottom product.
• Rotate the module connector on the top of the bottom product.
You can combine only two products.
• If three or more products are combined, they do not operate and a "beep beep beep" sound is emitted continuously. The products may fall down and cause product damage or personal injury.
NOTE
• If three or more products are combined, the alert "2 Only" is shown on the display.
Do not stack products in two stages and apply the power to each one. When stacking products in two stages, be sure to combine them using the module connector.
• Failure to do so may result in product falling or damage.
Do not place an object near the combined products that makes it possible for children to climb onto them.
• Failure to do so may result in product falling or damage, and children may fall and get hurt.
Do not place liquids on the products when each product is used alone or when combined products are used.
• Liquids that enter the product may cause product malfunction and filter contamination.
Do not combine products or use combined products on a floor that is inclined or not flat.
• Even a small impact may cause the product to fall.
Do not combine products or use combined products on a table.
When combining products, be sure to put them on the floor and combine them using the module connector.
• Failure to do so may result in product falling or damage, or injury.
Do not place objects on the products when each product is used alone or when combined products are used.
• Failure to do so may result in product discoloration or deformation due to adhesives and rubbers.
Cleaning the air purifier exterior
• Dampen a soft cloth with lukewarm water and wring it out, and then wipe the product exterior with it.
• Wipe the grooves on the front and rear panels with a cotton swab.
• If it is too hard to clean the dust from the front or rear panel, remove the panel and wash it with water.
Cleaning the sensors
• If there is dust or foreign substance on a sensor, use a vacuum cleaner to clean the sensor and its surrounding.
Caution
• Do not put any dust into the sensor openings.
Cleaning and drying the front panel
STEP 1 Remove the front panel.
• Hold and pull the front panel forward until it is removed.
–– If you have difficulty in removing the front panel because it is closed, turn on the power, unplug the power cord while the front panel is open, and then remove the front panel.
STEP 2 Clean and dry the front panel.
• Clean any dirt or foreign substance on the front panel with water or a soft cloth.
• After cleaning with water, thoroughly dry the front panel before reassembling it to the product.
STEP 3 Reassemble the front panel.
• Insert the hook at the bottom of the front panel into the bottom fixing groove, and then press the top center of the front panel so that it is assembled to the product.
–– If the front panel is open, connect the power cord and turn on the product so that the product operates and the front panel returns to its closed position.

Cleaning the pre-filter
• If you can see dust accumulations, remove large dust first with a vacuum cleaner, and then rinse the filter with lukewarm water.
–– Cleaning interval: 2 weeks (when using the product 24 hours every day)
Caution
• When cleaning the pre-filter, rubbing with a brush or a similar tool may damage the superfine fibres.
Drying the filters
• Keep the filters in the shade until completely dry and away from direct sunlight.
• Check the power supply and turn on the air purifier again.
• Make sure that the power plug is plugged in, and then turn on the air purifier again.
If it still does not operate, try a different power outlet.
• Make sure that the rear panel is closed properly. If you hear a "Ding" sound when you open and then close the rear panel, it is closed properly.
• Make sure that the front panel is closed properly.
• If you move the product during operation, it may cause noise.
Turn off the power before moving the product.
• When moving the front panel, it may make a “click” or "rattle” sound depending on the operating environment.
–– These sounds are normal motor noises made during zero calibration when moving the front panel.
• When the product is operating, a sensor operation sound, such as a hissing sound, may be emitted.
–– When you sleep or want to rest in a quiet environment, select the Sleep mode.
• When the product operation is ended, the fan may make a hissing sound while it is stopping.
• Check if the fan speed is High. Change the fan speed to Low, or select the Wind-free mode.
• Because the air purifier sucks and circulates indoor air, if you use it in a closed space for a long time, odors generated in your home can saturate the filters.
–– Remove the pre-filter, deodorization filter, and dust collecting filter, and then smell them nearby to check whether odors are saturated to them. If saturated, wash or replace them. You will be charged for replacing filters regardless of the remaining warranty.
–– Open the doors and windows, and then operate the product for 3 to 4 hours.
–– If you grill fish or meat or cook with oil, operate the product after most odors have been removed by ventilation, if possible.
• If you operate the product after using an air freshener, a diffuser, a scented candle, or a cleaning agent, or making interior decoration, or replacing wallpaper, odors may be saturated to the filters, making them smell.
–– Ventilate until the odors are completely removed, and then operate the product.
• If you operate the product continuously in a high humidity environment or an environment where moisture supplied by a humidifier is sucked by the filters, they may smell.
–– If the filters smell due to moisture, dry them well in sunlight before using them again.
(The pollution level indicator does not seem to work)
• Check the sensors for any foreign substances and clean them if necessary.
• In the winter season, installing and operating the product for the first time shortly after delivery may cause the pollution level to reach 999 ㎍/m³ with the indicator illuminated in red. This is a temporary issue that happens if there is a significant temperature change from outdoor exposure causing condensation inside the unit. In this case, do not be alarmed and continue using the product. The status will be cleared within 1 to 2 hours of operation.
• The gas sensor reacts to changes in the indoor gas pollution level due to cooking or ventilation, causing the indicator to illuminate in red. When this happens, ventilate the room for 1 to 2 hours.
• Disconnect the power plug, then put it back after 1 minute. (To reset the sensor)
• If the indicator color stays in red after you have followed all the provided instructions and solutions, it may be a sensor issue. In this case, please contact your local Samsung Service Center.
• When humidifiers, electric pressure cookers, sprayers and such are being used in the same room, the pollution level may be measured as Poor.
• Set the fan speed to Auto. The fan speed does not change automatically when it is set to Low , Medium, or High or when the Wind-Free or Sleep mode is running.
• This may happen when the room is properly sealed and the air is clean.
To check if the sensor is functioning, test it by tearing paper by the sensor and/or rub them to create some dust. This will cause the PM levels to change if the sensor is working properly.
–– Dusting off or cleaning the room may not necessarily cause sensor feedback if the dust particles are bigger than PM10, while they are still filtered and removed from the air.
• When the air is clean, you may not see a difference between the PM10, PM2.5 and PM1.0 levels. To check if the sensor is functioning, test it by tearing paper by the sensor and/or rub them to create some dust. This will cause the PM levels to change if the sensor is working properly.
• Replace the filters with new ones, and then press and hold the [ Filter 3 sec] button for 3 seconds or more to reset the filter replacement reminder.
• If any of the indications C103, C154, C162, C163 appears, contact a Samsung Service Center.
Published: Friday, May 8, 2020 Viewed 111 times.
Ask me about:

Askme / 5/8/2020 6:10:23 PM (Original: 1280X853 px)

Askme / 5/8/2020 6:10:50 PM (Original: 800X1091 px)

Askme / 5/8/2020 6:11:22 PM (Original: 1280X960 px)

Askme / 5/8/2020 6:12:06 PM (Original: 1001X1001 px)
Learn how to reset your top load Samsung washer to troubleshoot error codes and cycle problems. Follow these steps to solve issues and get your washer back up and running smoothly.
/ Top load Samsung washer reset Answers: 1 1377
1377
Keep your refrigerator running efficiently and lasting longer with these easy maintenance tips. Regular cleaning, temperature checks, and condenser coil care are key.
/ Refrigerator maintenance tips Answers: 0 833
833
Learn how to reset your Whirlpool washer by following the troubleshooting steps outlined in the user manual to fix common issues quickly and easily.
/ Whirlpool washer user manual reset instructions Answers: 0 498
498
Learn how to locate and troubleshoot the thermal fuse in your GE dishwasher for potential heating issues with our step-by-step guide.
/ Finding thermal fuse in GE dishwasher Answers: 0 295
295
Discover the recommended steps for resetting the defrost timer on a refrigeration unit to maximize performance and efficiency. Keep your unit working smoothly!
/ Defrost timer reset procedure Answers: 0 391
391
Discover how refrigerators use a timer control system to regulate the defrost cycle, preventing ice buildup and ensuring efficient cooling for optimal performance.
/ Timer control for refrigerator defrost Answers: 0 312
312
Troubleshoot and fix the H2O error code on your GE dishwasher with our helpful tips to ensure it runs smoothly again. Follow our step-by-step guide now!
/ Repairing H2O error code on GE dishwasher Answers: 0 347
347
Troubleshoot and fix the H2O error code on your GE dishwasher with our helpful tips to ensure it runs smoothly again. Follow our step-by-step guide now!
/ Repairing H2O error code on GE dishwasher Answers: 0 426
426
Learn how to safely bypass the thermal fuse on your GE dishwasher to troubleshoot electrical issues without causing any damage or risk of injury.
/ GE dishwasher thermal fuse bypass Answers: 0 487
487
Learn how to reset your Samsung washing machine to fix operational problems and restore it to its original factory settings easily.
/ Resetting Samsung washing machine Answers: 0 312
312
Discover the most common error codes on Asko washing machines and learn how to resolve them with our troubleshooting guide. Keep your appliance running smoothly!
/ Asko washing machine problem codes Answers: 0 170
170
Learn how to prevent Dyson vacuum battery overcharging and extend its lifespan with simple tips and tricks. Keep your vacuum running efficiently for longer!
/ Dyson battery overcharging Answers: 0 155
155
Learn how to reset the settings on your Frigidaire dishwasher to troubleshoot common issues and get it working properly again.
/ Resetting Frigidaire dishwasher settings Answers: 0 163
163
Learn how to locate and test the thermal fuse in a GE dishwasher for continuity. Find out where it's located and how to ensure it's functioning properly.
/ Finding thermal fuse in GE dishwasher Answers: 0 160
160
Discover the recommended charging guidelines for Dyson vacuums to maximize performance and battery lifespan. Follow these tips for peak cleaning efficiency.
/ Dyson vacuum charging guidelines Answers: 0 156
156
tepte.com: Your Questions and Answers Resource with a Wealth of General Knowledge
Are you seeking a one-stop destination for comprehensive knowledge and answers to your burning questions? Look no further than tepte.com! Our platform is your go-to source for a wide range of information, all conveniently presented in an easily accessible question and answer format.
At tepte.com, we pride ourselves on being your reliable knowledge hub. Whether you're curious about technology, science, history, or any other subject under the sun, our extensive General Knowledge (GK) knowledge base has you covered. We've made it our mission to provide you with in-depth insights and facts on an array of topics. Read more